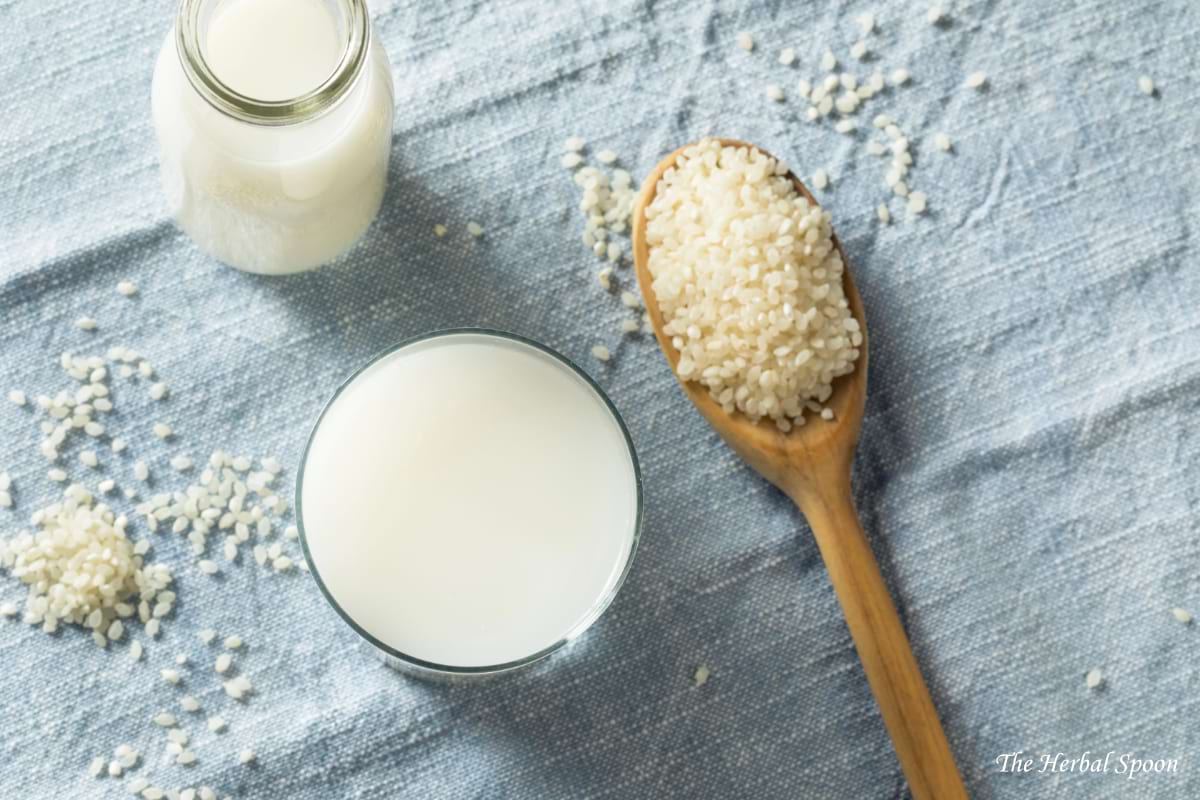
Several years ago I ventured into alternative milk making. One of the first dairy-free milks I learned how to make was rice milk and it’s surprisingly easy. The base recipe only has two ingredients but you can sweeten or flavor it to taste. And the best part is it’s really affordable to make!
Rice milk is naturally dairy-free, gluten-free, and vegan. You can easily reduce the sugar content by skipping the added sweetener. Instead of refined sugar though this rice milk recipe uses natural maple syrup or honey.
Does Rice Milk Taste Good?
It depends on who you ask, but I prefer the milder flavor of rice milk to other options. You can make it thicker or thinner depending on your preference which also affects the taste. Avocado oil makes this creamier and tastes much closer to store-bought rice milk, without questionable additives.
You can choose different add-ins to change the flavor. Add a little cinnamon and vanilla for a horchata version. Or blend in some Medjool dates instead of the maple syrup and then strain.
It’s not something I drink by the glass, but it is nice on top of things like oatmeal or granola. Since trying my hand at rice milk, I’ve also made homemade coconut milk, which takes even less effort.
How to Make Rice Milk
So how is rice milk prepared? There are two basic recipes. One involves soaking uncooked rice in hot water for several hours. You then blend and strain the mixture. The other way (which is what I prefer) is to cook the rice for several hours, and then blend that. The soaking method can work, but the end product is watery. Rice milk with cooked rice is more creamy and flavorful.
You can use either brown rice or white rice here, but I prefer white rice. Jasmine rice from Thailand to be exact. It has the least amount of arsenic, especially compared to brown rice which is really high in arsenic and phytic acid (an anti-nutrient). Some people like basmati rice as well.
What Do You Do With Rice Milk?
You can use it like any other milk. You can drink it, pour it over hot cereal, or dunk cookies in it. I don’t bake with it just because I don’t find the need to. If a recipe calls for milk I usually just add water and a spoonful of yogurt or coconut oil.
Pros and Cons of Rice Milk
Pros:
- Easy and fast (once the rice is cooked)
- Cheap to make
- Has a more neutral taste
- Can customize the sweetness and flavor
- Rice is shelf-stable so the ingredients are readily on hand
Cons:
- High in starch and carbs
- Low in protein
- Only lasts 4-5 days in the fridge
How to Make Rice Milk
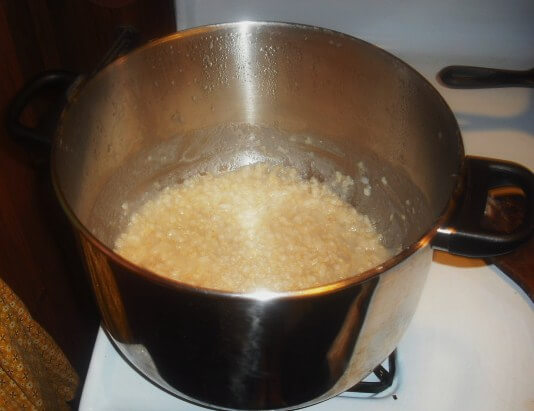
Begin by cooking 1/2 cup rice and 4 cups water on the stove. Bring water to a boil, then simmer for 3 hours with the lid on. Add more water if needed to prevent burning. The final product should look like soupy mush.
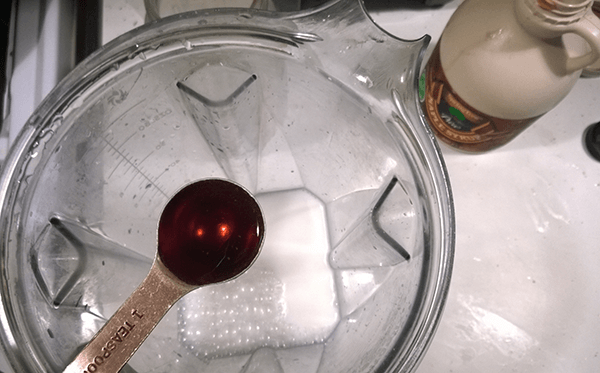
2. If making coffee creamer, set aside 1 cup of rice mixture.
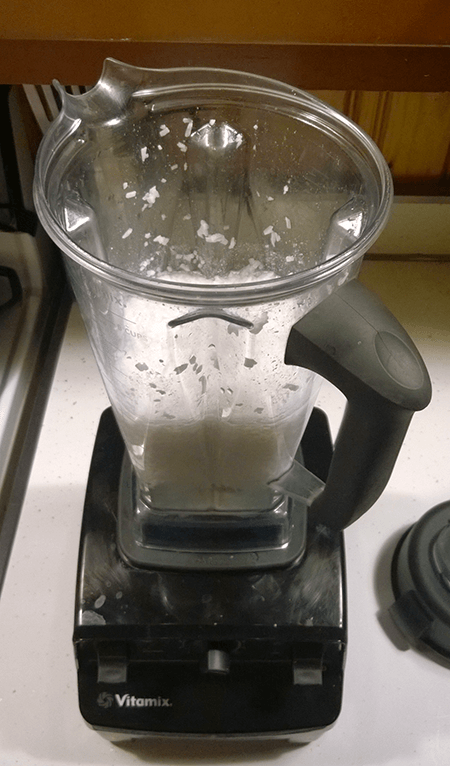
3. Fill a blender with 2 cups rice mixture and 3 cups fresh water. Blend until smooth. A high-speed blender works well for this. I don’t recommend a food processor as it won’t break down the rice enough.
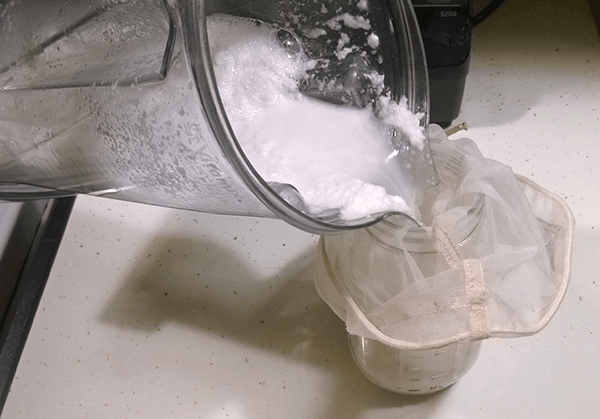
4. Strain the rice/water mixture through a fine mesh sieve or cheesecloth, and into a container. Use a whisk to move the pulp faster, otherwise, you’ll be there all day! I have a small sieve, but the larger yours is, the quicker this step will be. I’ve also used a nut milk bag successfully to strain this. You can also use a clean tea towel.
5. Repeat steps 3 and 4, blending 2 cups rice mixture and 3 cups water until all of the rice mixture has been used.
6. Put the rice caught in the sieve into a separate bowl. It will look like overcooked oatmeal. I mix this with mashed banana and use it for baby food.
7. Once all of the milk has been filtered, filter it again into a clean container. Again, place what the sieve caught into a bowl. This will look like gravy and can be discarded.
8. Fill your container the rest of the way with water, until it’s full. I ended up using 7 cups of liquid total, including the water I used in the blender. This ends up rather thick and creamy.
9. Add 1/4 tsp salt, 1 Tbsp avocado or another mild oil, 1-2 Tbsp maple syrup or honey and stir well.
Tip: Measure out the oil first and then the sweetener with the same tablespoon. This way the sweetener won’t stick to the measuring spoon and you won’t waste any.
Store any leftovers in the refrigerator and shake well before each use.
Simple Rice Milk Recipe
Ingredients
- 1/2 cup rice
- 1/4 tsp sea salt
- 1 TBSP avocado oil (optional)
- 1-2 TBSP maple syrup (or honey, optional)
- water
Instructions
- Add rice and 4 cups of water to a pot. Bring water to a boil, then simmer for 3 hours with the lid on. Add more water if needed to prevent burning. The final product should look like soupy mush.
- If making coffee creamer, set aside 1 cup of cooked rice mixture.
- Fill a blender with 2 cups rice mixture and 3 cups fresh water. Blend until smooth.
- Pour rice/water mixture through a fine mesh sieve, and into a half gallon container. Use a whisk to move the mixture faster. I’ve also used a nut milk bag successfully to strain this.
- Repeat steps 3 and 4, blending 2 cups rice mixture and 3 cups water until all of the rice mixture has been used.
- Put the rice caught in the sieve into a separate bowl. It will look like overcooked oatmeal. I mix this with mashed banana and use it for baby food.
- Once all of the milk has been filtered, filter it again into a clean container. Again, place what the sieve caught into a bowl. The sediment will look like gravy and can be discarded.
- Add salt, avocado oil, maple syrup or honey and stir or blend well.
- Fill your half-gallon container the rest of the way with water, until it’s full. I ended up using 7 cups of water total, including the water I used in the blender. This ends up rather thick and creamy.
- Store in the refrigerator and shake well before each use.
Notes
Measure out the oil first and then the sweetener with the same tablespoon. This way the sweetener won’t stick to the measuring spoon and you won’t waste any.
Rice Milk Coffee Creamer
- 1 cup reserved rice mixture
- 1/4 cup water
- 2 Tbsp honey or maple syrup
- 1 Tbsp vanilla or almond extract
- Blend rice mixture with 1/4 cup water.
- Strain the mixture twice through a fine mesh sieve.
- Add sweetener and extract and mix well.
Shelf Life and Storage
Since this isn’t pasteurized and doesn’t have preservatives, it won’t last as long as store-bought. Keep it cold in the fridge and use within 4-5 days. If it smells or tastes sour then pitch it.

Couldn’t you just make the rice, blend smooth with water, but not so much water that it was too thin, and add vanilla and sweetener? I’m thinking of trying this.
You could and I think it would work if you had a very powerful blender like a VItamix, but I don’t think it will work with a regular one, or even a Ninja. I tried that method and it doesn’t extract enough from the rice. And the oil gives it a smooth consistency and makes it taste more like storebought, but it can be omitted. You could use fractioned coconut oil too. Let me know how it turns out for you 🙂
Hi Jamie,
I believe it is always better to make your own rice or any other type of alternative milk. That way you know exactly what in it and it so much more economical. Thanks for sharing on Real Food Fridays. Pinned & tweeted!
Wow, I never even thought one could make this! Thank you for sharing this tutorial on the Art of Home-Making Mondays at Strangers & Pilgrims on Earth!
Love this! Thank you for sharing this over at Healthy Living Link party! I will feature your post for tomorrow’s party, make sure to grab your feature button. Hope to see you again!
I also love to make my own nondairy milks such as almond or sesame milk. I am intrigued by your recipe for rice milk. I can’t wait to make this. I am pinning and sharing this recipe and it is my feature for the Healthy Living Link Party this week!
Another one of your great milk recipes! I loved them! I have chosen this recipe as one of my favorite 3 entries from last week’s party. Come see it tonight and link up your latest DIY posts! The party is new every Thursday at 7pm EST.
Hi Jamie – I didn’t know you could make this! I am learning something new all the time! Thanks for sharing this with the Let’s Get Real party.
I love rice milk and it is so much healthier to make it from scratch without additives. Thank you for sharing your recipe with us at the Healthy Happy Green and Natural Party Blog Hop. I’m pinning and sharing.
Will it be ok to use for hair or as an hair product?
If yes, how?
It would probably make hair feel sticky and the milk won’t last more than about 5 days. I’ve used canned coconut milk diluted in water as a hair treatment before though. You just pour it over as a hair rinse in the shower.
Hi Jamie! How long does the coffee creamer keep?
It’s been a while since I’ve made this, but I believe it lasts for several days in the fridge.