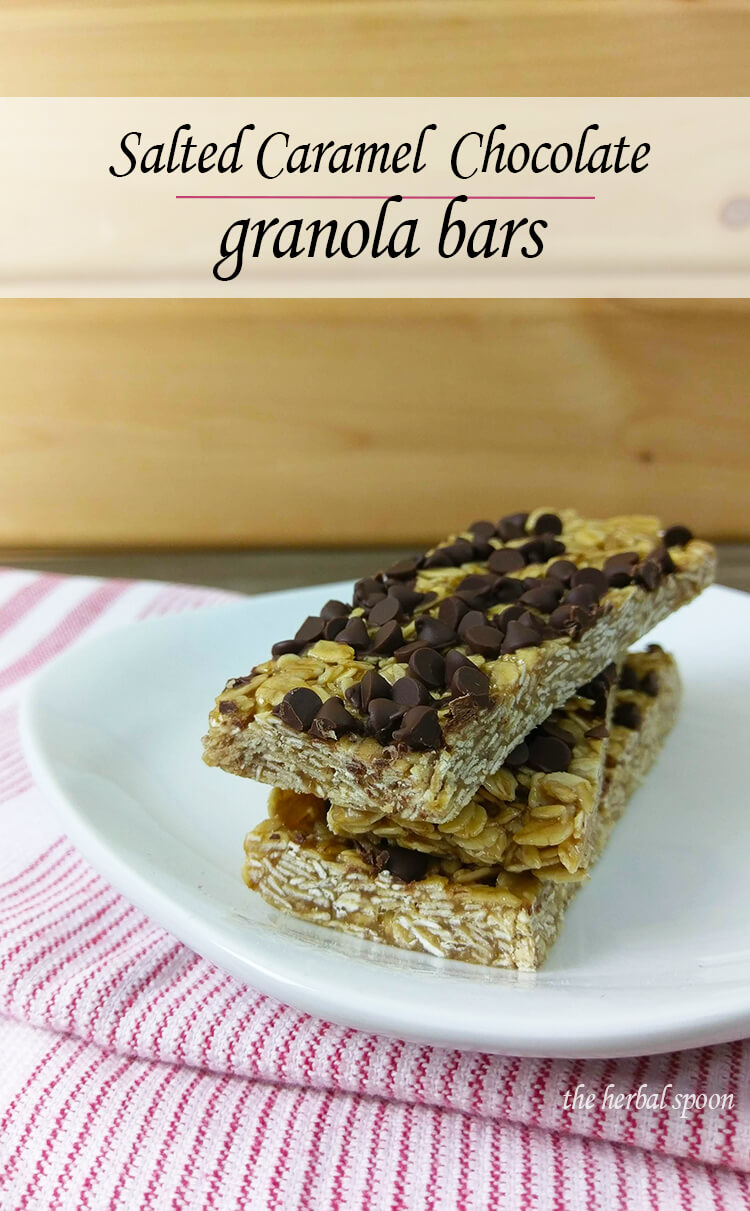
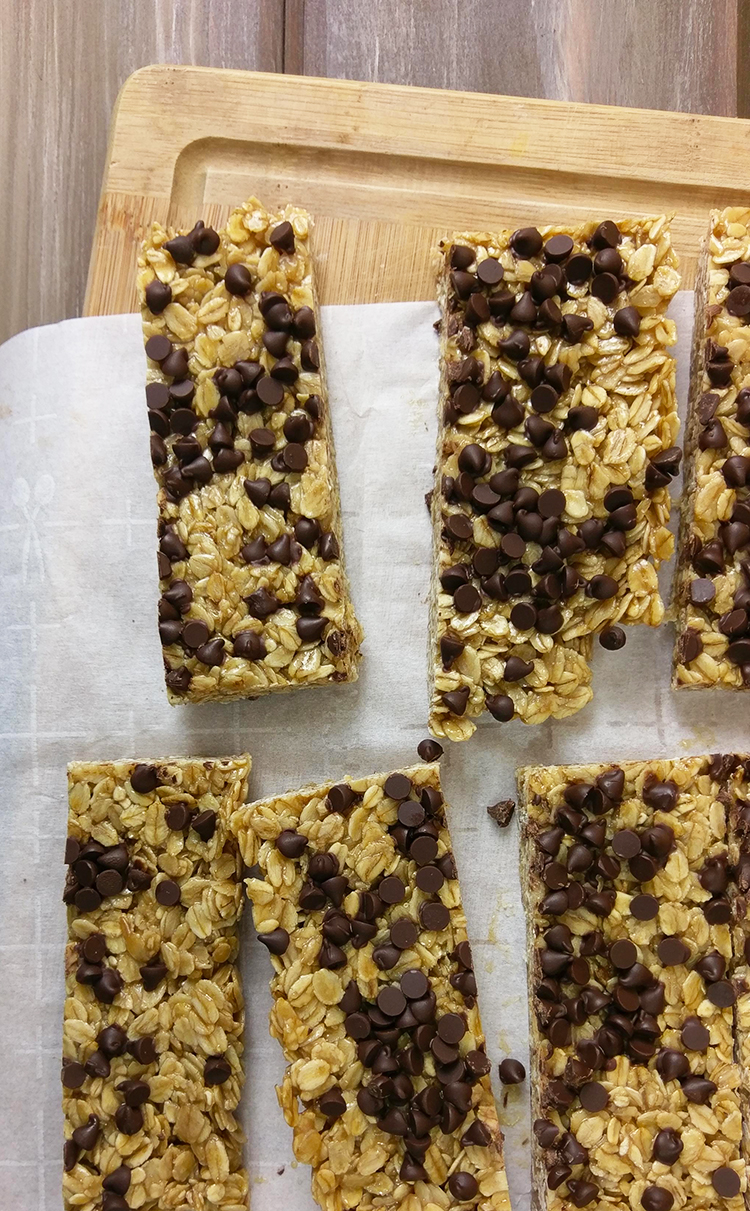
 With little tummies come big appetites. Snack time can seem never ending when you have kids so I like to have healthy options, like immune boosting jello squares. These homemade, gluten free granola bars also fit the bill.
I like the (not so) occasional treat, and even better if it’s portable. My little ones take after their mom. They snuck into the fridge and ate half a dairy free chocolate pie one morning. Not that I’d ever do that….
While I don’t encourage that kind of behavior, I do like to have healthier for you treats sometimes. Granola bars are sweet and chewy. They’re portable and easy to make. What’s not to love about granola bars?
The Best Healthy Granola Bars
Quite a bit actually. We try to go easy on the sugar and opt for stevia, fruit, or coconut sugar whenever possible. Granola bars are usually loaded with processed sugar. Then there’s the store bough versions with processed, not so good for you (and sometimes downright nasty) ingredients.
I’m also not a fan of crunchy, hard granola bars. I don’t want to live in fear of breaking a molar with every bite. It kind of defeats the purpose of enjoying your snack. If you like to live life on the dangerous side though, then go for it.
Even if you do like crunchy granola, chewy homemade granola bars are nice too. I’ve made this recipe more times than I care to admit. Over the years I’ve lost track of how many batches I’ve made. Yes, it’s that good.
Gluten Free Granola Bars
There aren’t any gluteny grains to be found in this granola bar recipe, like rye or wheat. However there can be some concern with the oats. While oats don’t naturally contain gluten, they’re often cross-contaminated with it. If you’re strictly gluten free and want to avoid all traces, then opt for certified gluten free oats. Bob’s red mill is a good brand and readily available.
Nut Free, Dairy Free and Naturally Sweetened
These chewy caramel chocolate granola bars don’t stop at gluten free. They’re also free of other common allergens, like nuts, eggs, and dairy. This makes them a great option for school events and other places where allergies and food sensitivities are often present.
Keep it Together
I used half honey and half coconut sugar in this recipe for a few reasons. Honey adds a rich depth of flavor and keeps the bars chewy and soft. Too much honey though and the homemade granola bars fall apart. I prefer coconut sugar to fill in the rest of the sweetness, but you could also use rapadura, sucanat, or demerara cane sugar.
Why I don’t Use Raw Honey
I used to use and recommend raw honey for everything. While it is a superfood and I enjoy it in my morning latte and soothing throat spray, it’s not the best option here. Raw honey is awesome because its raw and full of live enzymes. However the live enzymes are destroyed during cooking.
Sweet Sweet Caramel
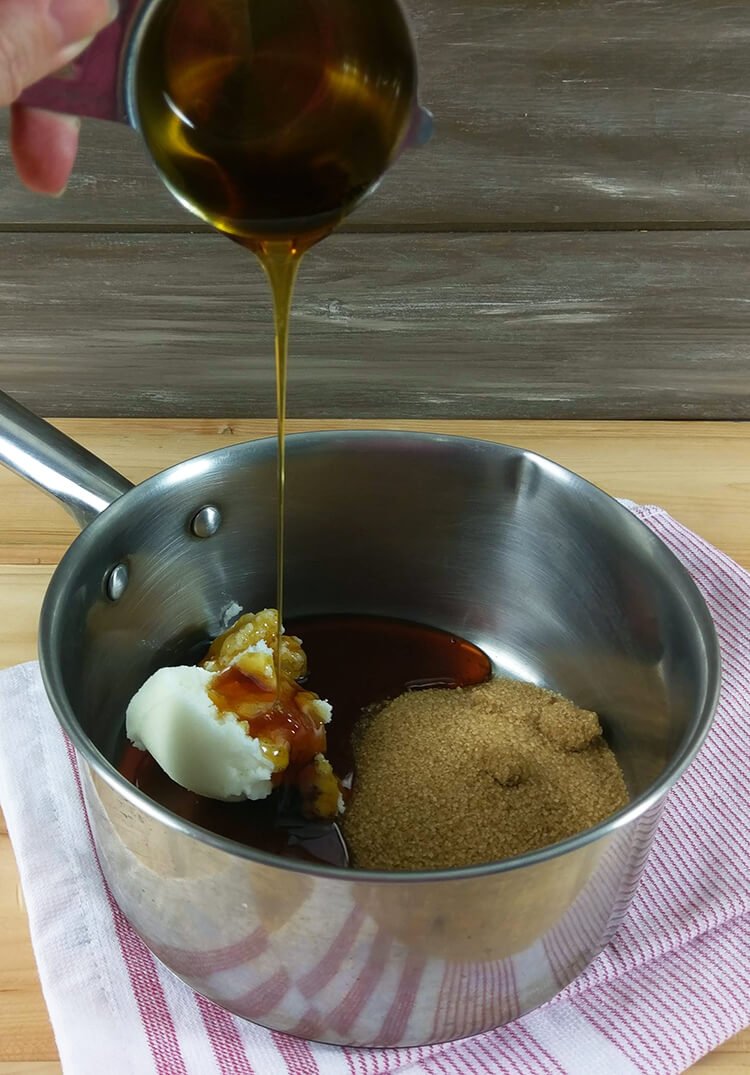
The first part of the recipe involves cooking the oil and sweeteners together to make caramel. Cook it too long and you have hard candy with a hint of burnt flavor. Under cook it and your gooey granola bars will be a gooey fall apart mess. Be sure to keep an eye on the mixture and cook at a rolling boil for exactly one minute.
And if you’re not a fan of salted caramel (seriously, what’s wrong with you??) then leave the extra sprinkling of salt off the top. The small amount of salt in the bars helps balance out the sweetness of the sugar.
Chewy Salted Caramel Chocolate Granola Bars
Rich, buttery, chewy, chocolatey, salty and sweet. Everything the perfect healthier granola bar should be.
Ingredients
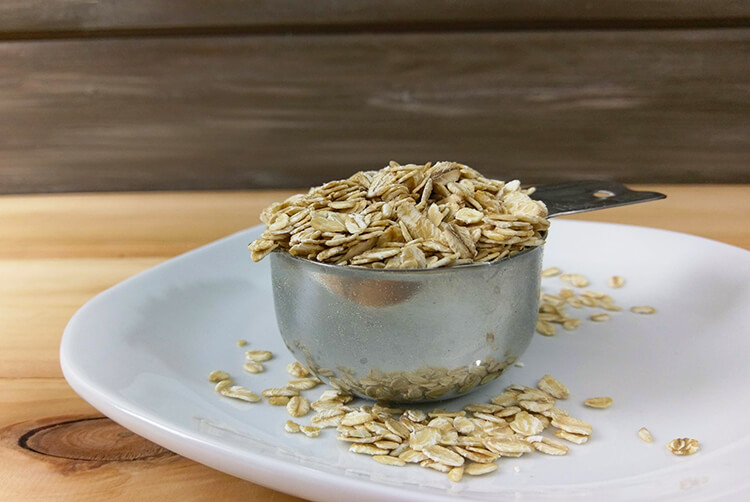
- 2 and 1/2 – 2 and 3/4 cups rolled oats
- ½ cup honey
- ½ cup coconut sugar or sucanat sugar
- ½ cup refined coconut oil, or ghee (or grass-fed butter)
- 2 tsp vanilla
- 1/3 cup chocolate chips (dairy free if desired)
- 1/8 heaping tsp Himalayan salt or Real Salt
Instructions
- In a large saucepan combine the honey, coconut sugar and butter over medium heat, whisking constantly.
- Once the mixture foams and boils, boil it for 1 minute, then turn off the heat.
- Whisk in the salt and vanilla until smooth. Add the oats and stir with something a little heftier, like a wooden spoon. Start with 2 and ½ cups and increase if necessary. My oats are thicker so I don’t end up needing the last quarter cup.
- Dump the granola bar mixture into a parchment lined 8x8 baking dish. Use dampened fingers or a rubber spatula to press it flat.
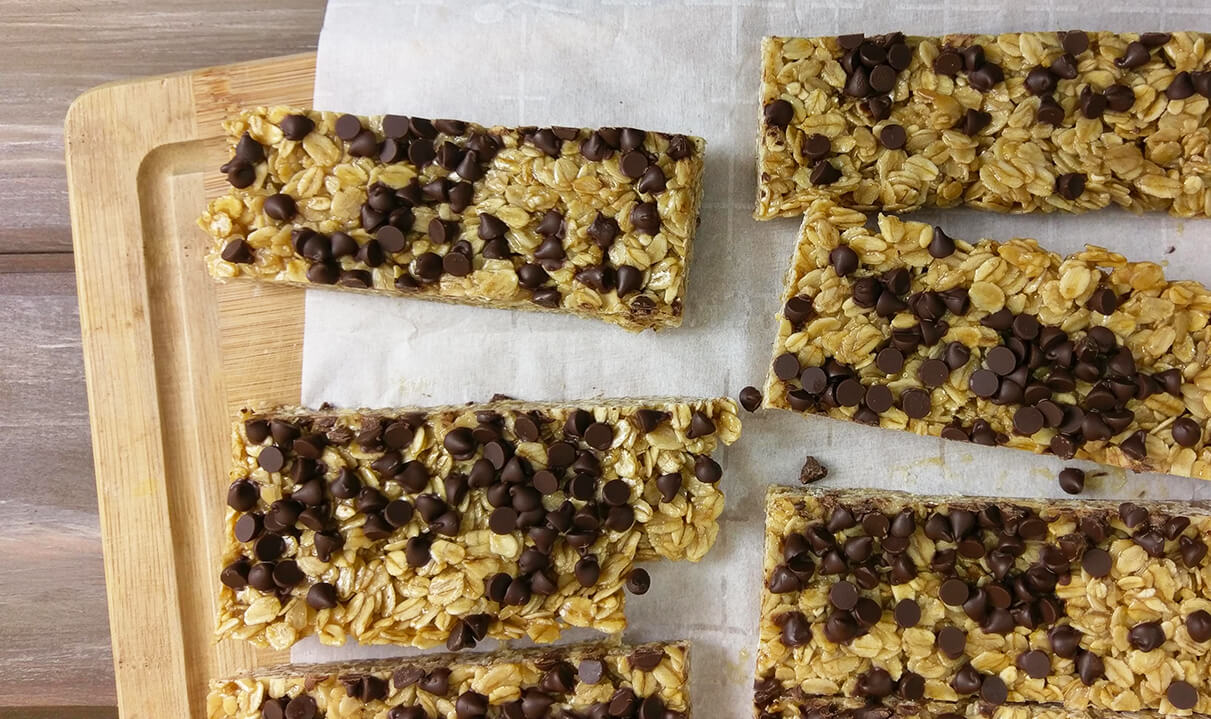
- Sprinkle the chocolate chips across the granola bars and press them in with your fingers. These will melt fast, so work quickly or you’ll end up with chocolate smeared all over the top and your hand!
- Sprinkle sea salt across the top, and pop the bars in the freezer for about 20 minutes or until firm.
- Use the overhanging parchment to remove the granola mixture.
- Cut the bars into squares and store in an airtight container (if you have any leftovers!)
Notes
These can be kept in the fridge, but I prefer keeping them on the counter so they aren’t as hard.
