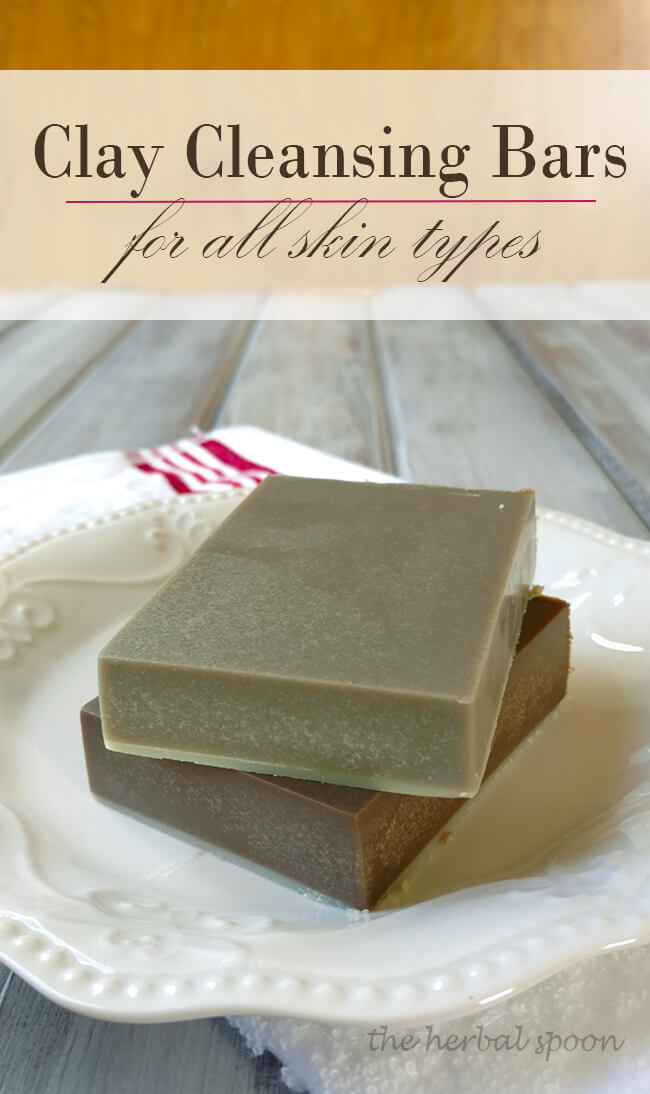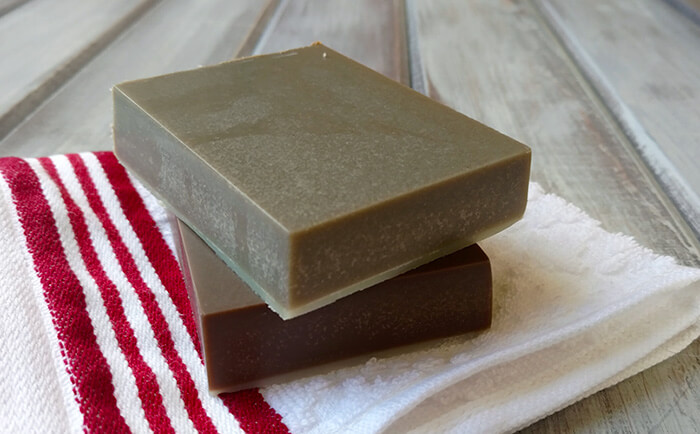
Over the years I’ve experimented a lot with my skincare, looking for the perfect thing. This clay cleansing bar with bentonite clay, nourishing oils, and moisturizing butters may be my new favorite.
Soap dries my skin out, and a brief stint with a conventional soap in high school resulted in a breakout the likes of mount Vesuvius. I’ve tried honey face wash (love!) but I wanted to give oil cleansing a try. These clay cleansing bars combine the gentle nature of oil cleansing, with the clarifying benefits of clay. The result is a soap-free cleansing bar that makes skin vibrant.
Clay Cleansing Bars: Oil Cleansing Upgraded
The oil cleansing method has gotten popular recently. Essentially it involves rubbing oil on your face and then rinsing with water. If you’ll think back to freshman chemistry, like dissolves like, and that’s the concept used here.
It’s worked wonderfully for many of its disciples and has been an epic failure for others. So why does oil cleansing seem to only work some of the time?
Different carrier oils have different properties that are better for different skin types. Some are high in linoleic acid, which is better for acne-prone skin. Some have high amounts of oleic acid, which is better for dry skin. It can take some experimenting, but choosing the right carrier oil for your skin type is key here.
The Power of the Seed by Susan Parker is my favorite book to learn all about natural carrier oils. If oil chemistry isn’t your thing though, no worries. I’ve included recipes for each skin type so you can find your perfect match. Beauty shouldn’t have to be complicated.
What is a Clay Cleansing Bar?
It may sound fancy, but we’re just combining carrier oils, butters, and clay together to make a gentle facial bar. You can use rose or pink clay to make a pink clay cleansing bar for drier or mature skin. I like bentonite clay for blemished skin since it draws out impurities. There are lots of natural options to choose from!
The clay powder helps to gently exfoliate skin while the oils and butters soften.

How to Make Clay Cleansing Bars
These clay cleansing bars are a creative way to oil cleanse with the added benefits of clay. I’ve included two different clay bar recipes for various skin types.
Bentonite clay is high in minerals like calcium, potassium, and magnesium, and helps draw toxins from the skin. This healing clay also oxygenates the skin by pulling excess hydrogen from skin cells for smooth, supple skin. It’s also great for detoxing the mouth and is the main ingredient in my chai remineralizing toothpaste.
Kaolin clay is great for normal or drier skin types. It’s also gentle for sensitive skin and stimulates circulation. Rose kaolin clay, also known as pink clay is similar. The pink version of kaolin gets its gorgeous color from iron and is also good for mature skin.
Bentonite Clay Cleansing Bar
The clay cleansing bar for acne and blemished skin uses grapeseed oil, which is lightweight and packed with acne-fighting ingredients. You’ll also find tea tree essential oil which helps reduce the appearance of acne and addresses the root cause.
I’ve also included a tiny bit of tamanu oil for its remarkable skin regenerating abilities. Tamanu is perfect for those with acne scars or blemishes! Yes, tamanu is strong smelling, but it’s not noticeable once it’s in the clay cleansing bars.
Facial Cleansing Bar Recipe for Mature Skin
If you’re not in the oily, acne-prone skin camp, then there’s a mature skin bar. Honestly, I don’t have mature skin yet. I’m not even 30. However, I do want to age gracefully, so I use plenty of anti-aging ingredients in my skincare routine.
Geranium and lavender are some of my favorite skin soothing essential oils. These help keep skin smooth and blemish free. The carrier oils I’ve chosen are anti-inflammatory and full of vitamins and amino acids to support healthy skin.
The anti-aging clay cleansing bar uses sweet almond oil that’s moisturizing, but not too greasy. You’ll also find rosehip seed oil, which has been nicknamed the wrinkle eraser. Avocado oil rounds it out with its ability to increase collagen, keeping skin firm and full. I also like using avocado oil in this blend for varicose veins.
Clay Cleansing Bar For Clear Skin
Ingredients
Clay Cleansing Bar for Blemished Skin:
- 39 grams grapeseed oil (about 3 TBSP and 2 t)
- 42 grams cocoa butter
- 3 grams tamanu oil (about ½ tsp)
- 30g bentonite clay (about 3 TBSP and 1 tsp)
- 15 drops tea tree essential oil
- 10 drops lemongrass essential oil
Anti-aging Clay Cleansing Bar:
- 30 grams Kaolin clay (about 4 TBSP)
- 27 grams sweet almond oil (about 2 TBSP)
- 42 grams cocoa butter
- 15 drops geranium essential oil
- 10 drops lavender essential oil
- 10 grams avocado oil (about 1 TBSP)
- 11 grams rosehip seed oil (about 1 TBSP)
Instructions
- In a large glass bowl add the oils and butters. Perch the glass bowl on top of a pot filled halfway with water and turn the heat to medium high. Stir occasionally until melted.
- Once everything has melted, turn off the heat and add the essential oils and clay, whisking well to combine.
- Immediately pour the mixture into your mold and place it in the fridge until firm. These need to be quickly cooled, or the clay will settle to the bottom.
Notes
Don't use metal utensils or containers with bentonite clay as they decrease its effectiveness.
How to Use Your Clay Cleansing Bar
- After the bar has completely cooled, pop it out of the mold and onto a towel lined countertop. It will need to be in the fridge for at least an hour, and you want to make sure it’s firm before removing it.
- Cut off a small piece of the bar to use. These melt if they’re held in the hand, so I find it easiest to remove some as needed.
- Rub the clay cleansing bar piece all over your skin in circular motions with either your fingers or a washcloth. Rinse well with water. Your skin should feel soft and moisturized. Pat it dry with a clean towel, and that’s it!
Shelf Life and Storage
Keep your clay cleansing bar in a cool place, away from direct heat and light. Be sure your hands are clean before touching the product and don’t allow the bar to get wet (bacteria loves water!). I use a butter knife to cut off a small slice to use.
If stored properly the cleansing bar should last 6-12 months.
Why Use a Scale?
I’ve included the measurements for this recipe by weight in grams, and also in teaspoons/tablespoons if you don’t have a scale. I love my scale and it’s one of the best purchases I’ve made when it comes to skincare making supplies. I don’t have to get a bunch of measuring spoons dirty, it all goes in one bowl. The results are more consistent too since creating skincare by weight is more accurate.
To use my scale, I set the bowl on and hit tare, add an ingredient, then hit tare before weighing each additional ingredient. Seriously, I use it ALL the time, and I only had to replace the batteries just this year.

Hi very informative thank you… may i know what clay is good to substitute bentonite clay for your recipe?
Thank you.
Bentonite clay is what pulls the toxins out of the skin, so it depends on what your skin type is and what you want the clay to do in the recipe. Kaolin is a good all around clay, especially for more dry skin types, but French Green clay would probably also work. I wouldn’t use red or rose clay though, since it comes out looking more like lipstick!
Can I substitute a soft oil for the cocoa butter? It seems a bit counterintuitive to use a saturated fat in a bar for oily/acne prone skin as that has caused breakouts in me before.
Hi Nicole, unfortunately I don’t think the recipe would turn into a bar without a butter of some kind. You’re right though that cocoa butter could cause some issues for acne. I don’t have my reference book on hand at the moment, but I believe kokum butter is non-comodegenic, so it won’t cause issues for those with acne. It’s a very hard butter though, so you could combine it with a carrier oil like grapeseed.
Mango butter would be perfect for you!
I want to try mango butter. I bought a mixture of Shea,cocoa and mango butter but I think I need to just try mango by itself.
Any suggestions on how to add apple cider vinegar and yogurt to clay bar recipe?
I’m really not sure how that would work, but let me know if you try out! If you used yogurt though it would need refrigerated and used within a week or two.
I wouldn’t add any more liquids to this, otherwise it won’t solidify and you’d just have a regular goopy clay mask. But you could try adding powdered versions of ACV and yogurt. You can buy ACV capsules in the vitamin isle at most stores. I make my own powdered yogurt. It’s really easy if you have a dehydrator. Just buy a tub of plain organic yogurt, use the “fruit leather” trays to fill with a thin layer of yogurt, and when it’s completely dry, carefully remove the solid yogurt, break it up, and run it through a coffee grinder to make a powder. If you don’t have the trays, you can use parchment paper. Hope this helps!
Can you sub cocoa for Shea?
Cocoa butter is harder than shea butter, so it would result in a firmer product (which you may or may not like). Mango butter is a better shea substitute since the consistency is similar.
Hello Jamie ! I have done your bar ( kaolin). . Ncie !! My question is.. is it a daily use or just once in a while ? Thanks !!! Johanne
I’m eclectic in my skincare so I use it every once in awhile, though I don’t think it would hurt to use it daily. Thanks for your question 🙂
Fyi, clay reacts with metals. Don’t add the clay til you’ve transferred to a glass or plastic bowl.