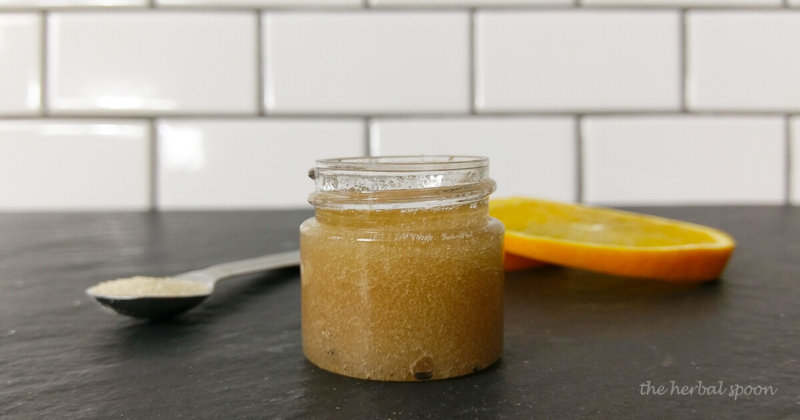
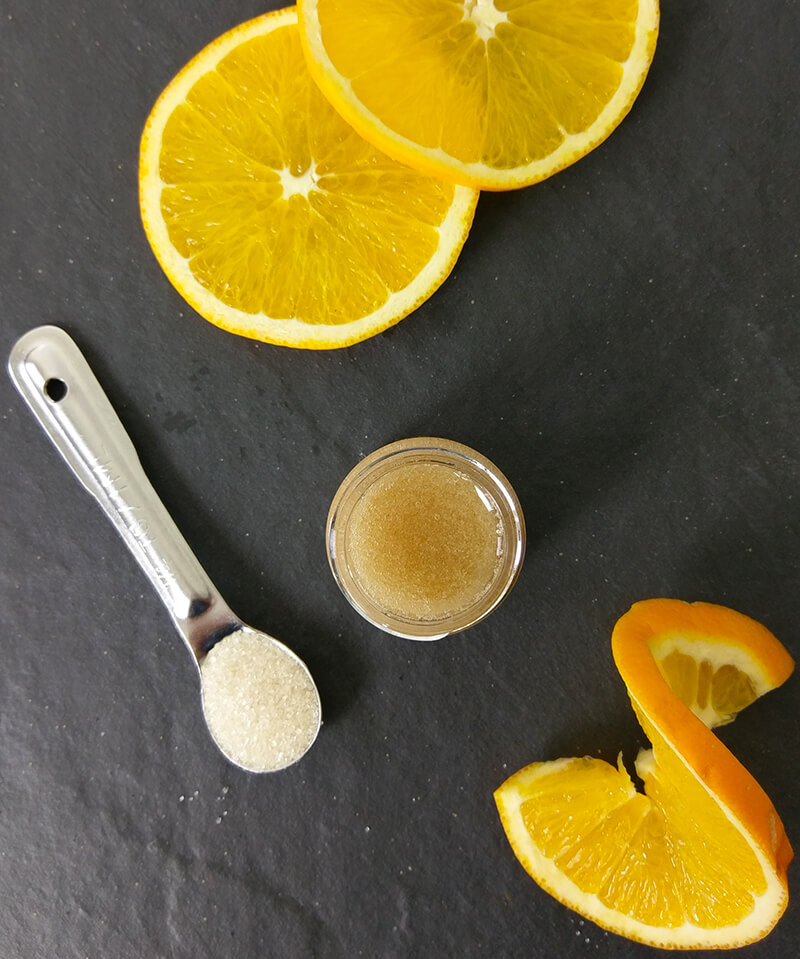
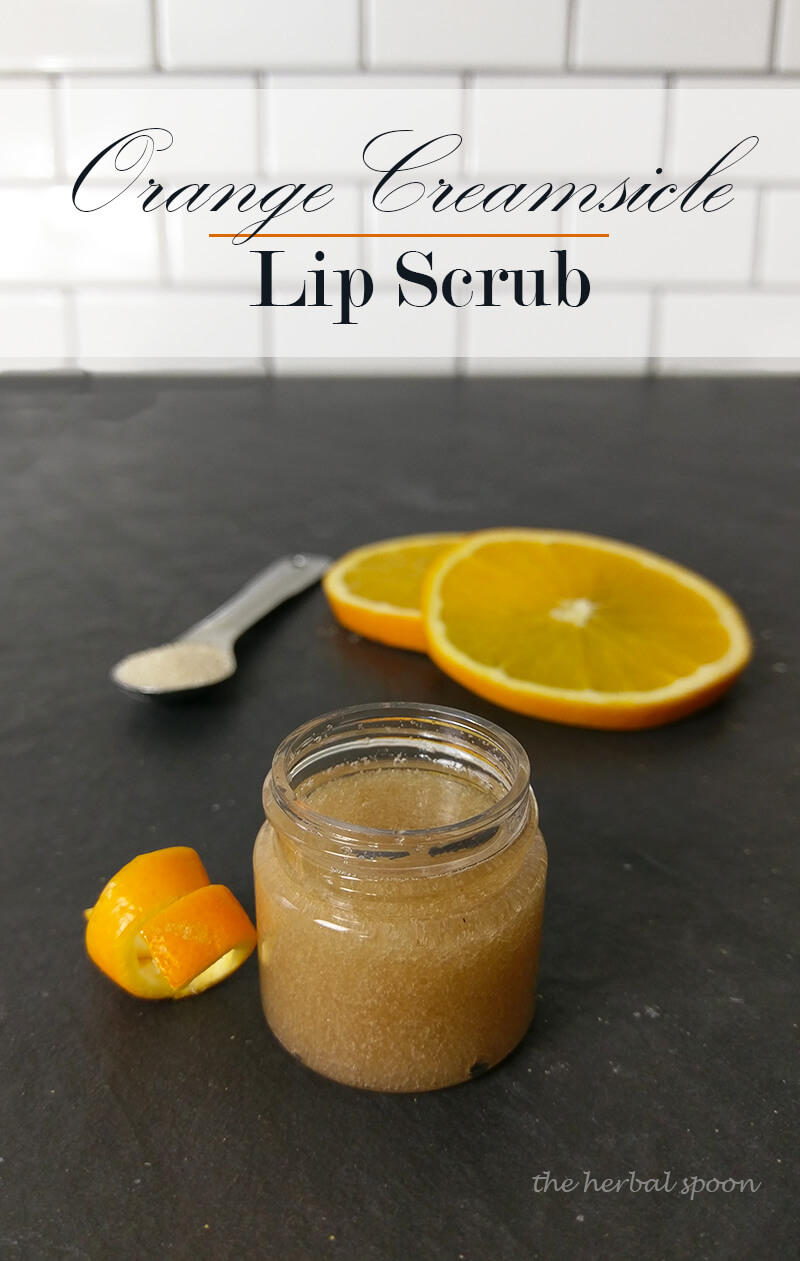
 This time of year there’s not enough lip balm in the universe to keep my lips feeling fresh. Instead of smoother lips, I have a tacky mess. I’ve used a gingerbread lip scrub before to exfoliate, but I wanted something even simpler. This edible lip scrub features orange and vanilla for a delicious way to get smoother lips. All you need is 4 ingredients and 5 minutes.
Lip Scrubs are Pointless
That’s what I first thought when I heard the term lip scrub. Skincare items like mint chocolate whipped body butter or this honey face-wash serve a purpose. Lip scrub though?
I’m a busy mama and don’t have time for fancy skincare projects anymore. The first time I used a lip scrub though, I finally got the hype. The uncomfortable, tacky feeling I’d lived with for weeks was finally gone.
This orange cream edible lip scrub only has 4 ingredients, smells fantastic, and pulls together faster than a toddler running away at the grocery store. It smells like the tangy and sweet orange Creamsicles my grandma gave us as kids. You’ll have a hard time not licking your lips because it tastes as good as it smells!
Lip Balm Failure
Lip balm is great and necessary, especially when it’s dry or cold out. When there’s gunky buildup on my lips though, lip balm just adds to the problem. A good lip scrub will exfoliate to help lips get back to normal.

Coconut Oil
I love coconut oil. I put it in my morning superfood coffee, I use it to make healthy chocolate, and it even makes a good laxative in a pinch. What it’s not so great for? Moisturizing lips.
Coconut oil is crazy popular in skincare recipes, but many people find it drying. To keep things simple I used straight coconut oil on my lips for a week. Instead of softer lips they were a painful, cracked mess.
I tried other oils in this lip scrub recipe, but it works best with virgin, unrefined coconut oil. The lip balm separated and felt too soupy when I used sweet almond oil. Fortunately the solution is a simple one. Pop some lip balm on those lips afterwards and all’s well in the world.
Sunburned Lips
Certain citrus oils are phototoxic, meaning they make skin more likely to burn. Rumor has it orange essential oil is phototoxic. Nobody wants lobster lips, so why is orange essential oil in this edible lip scrub? Here’s the deal: bitter orange is phototoxic, but wild or sweet orange essential oil is not. Unfortunately because it’s a citrus oil, orange gets lumped in with the other phototoxic oils. You can get all the details on the truth about phototoxic essential oils here.
Orange Cream Lip Scrub
Exfoliate and soften lips with this fabulous smelling edible lip scrub. And unlike the Creamsicles from my childhood, this concoction won’t leave lips feeling sticky.
Edible lip scrub ingredients:
- 1 and 1/2 tsp virgin coconut oil (or 1/2 Tbsp)
- 1 Tbsp sugar, I used organic cane sugar
- 1/8 tsp vanilla extract (alcohol free if you can find it)
- 8 drops orange essential oil
Edible lip scrub directions:
- Combine all of the ingredients except sugar together in a glass bowl. Stir to combine.
- Mix the sugar in.
- Spoon the mixture into a jar.
To use: Scoop a little up with a clean finger and massage it across your lips while leaning over a sink. Rinse thoroughly and enjoy softer lips!
Notes:
- The lip scrub may separate some, but I still get an even amount of sugar and oils when I dip my finger in.
- If you don’t use alcohol free vanilla the scrub can be a little drying. My lips appreciated some lip balm post scrubbing.

Oh my goodness I need this! And it seems like it would taste great too:)
It does lol, I have a hard time not eating it.
LOVE lip balms and scrubs and SO love making my own!
Orange e.o. is one of my favourites.. So cheerful!
Super simple recipe! Thanks for sharing.
Oh this sounds positively yummy! Love the combination of the orange with vanilla and coconut oil. I don’t use a lip scrub right now but I’m thinking that I should be!! Great DIY idea!
Love ORANGE e.o. — I make this one with coconut sugar. Also — yes it IS difficult to not eat it all up! lol
Will share with friends. This is such a wonderful DIY recipe!! Thanks Jamie.